I’ve gone YouTube! – The Press Box

So what is so cool about Steve? well let me tell you.

It was (is) 2020 and we (the planet pretty much) is lockdown due to the COVID-19 outbreak.

Steve is a seasoned YouTube creator and has been running woodworking for mere mortals for some time.

Just before the “outbreak”, I had treated myself to a much wanted tablesaw.  A cheap one (as saws go) but I had been watching it’s price drop since last year and the stock of them in my local Wickes store.

Anyways, I stumbled upon Steve as I searched for tablesaw and usage videos.  It looked to me like he had just started the same lockdown I had been in for a few weeks already (work from home, hadn’t been out for a few weeks before UK shutdown).

So I began to watch Steve set about making a printer stand and learned quite a few useful things along the way – like people make mistakes but you just learn and move on.

To make a long story longer, I had (have) just watched Day 22 of his lockdown videos and he asked us what we do in our workshops and if we are making anything now etc.

Well Steve, here is my effort.

The "Workshop" Tour (Constructed July 2018)

First the “WorkShop” isn’t really a workshop.  In fact after factoring in the amount of “stuff” that a shed collects, the new tablesaw and a stool to sit on, I have very little room to move.

You can see that is it an odd shape too.  It’s wider on the right hand side.

So what to make in LockDown2020?

I designed a “Box” in SketchUp.

The box is to contain a print press machine that my wife uses to press her designs on fabrics (bags, hats, cups, t-shirts etc).

The box needed to be strong enough to hold the press while being used.

You can see from the SketchUp image, that the box “was” going to be 18mm ply but the lockdown and overall weight of the material was too much, so 12mm was used (manual adjustments made in head).

The original cutting list was written and various costs worked out before I stocked up with 18mm (I also got 12mm by chance while I was there).


The Make

The actual build isn’t something I thought to document with pictures.

What I can tell you is that all the box joining corners are cut at 45 degrees as this left not so much ply end grain (no I hadn’t seen Steves video on edging at that point).

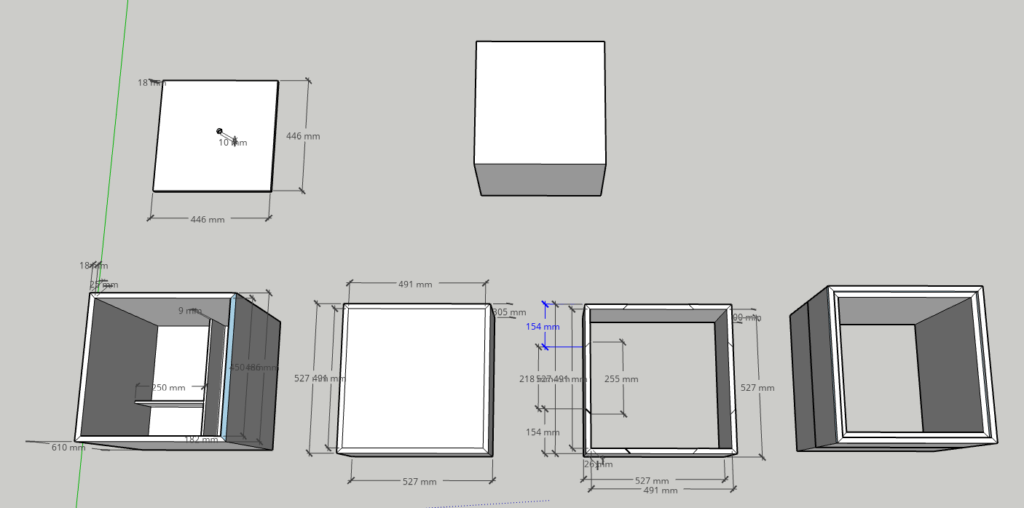
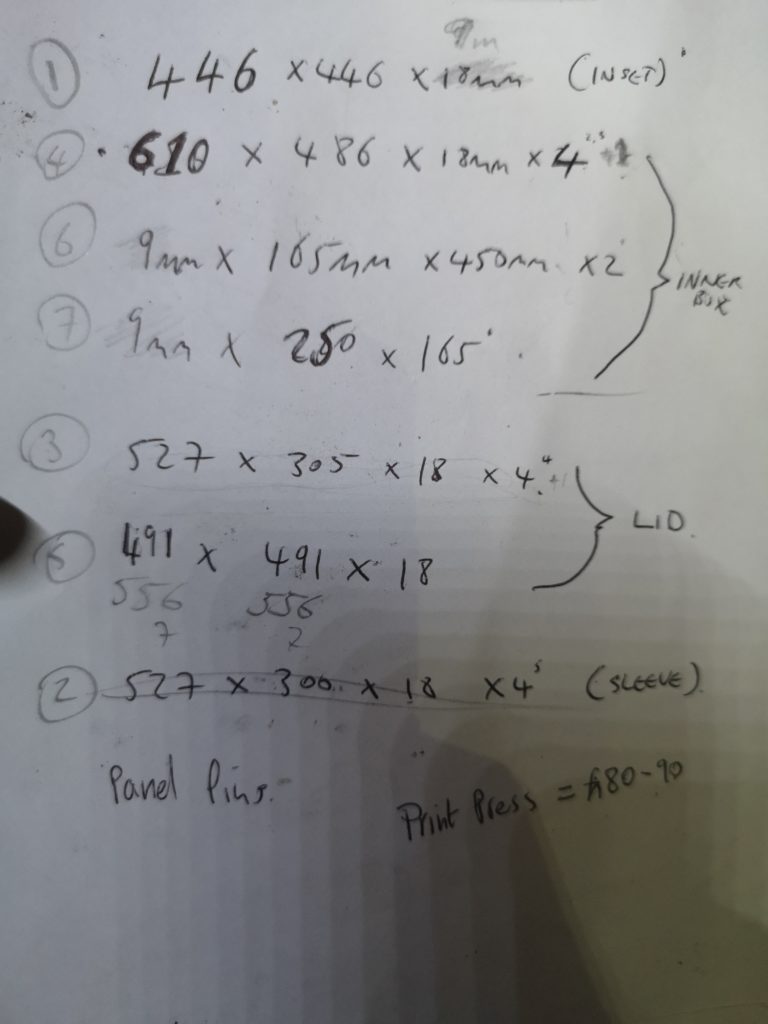
If you look again at the bad image on sketchup, you can see that there is in fact three boxes here (Lower left of image is Inner, Right of that is Lid and Right of that is Sleeve.  Above Inner is the removable top / base for press parts compartments and press to sit on.

The random box, top right of image is my rough press template to size with and the far right shows the lid, sleeve and inner (minus final top and inner parts / bottom).

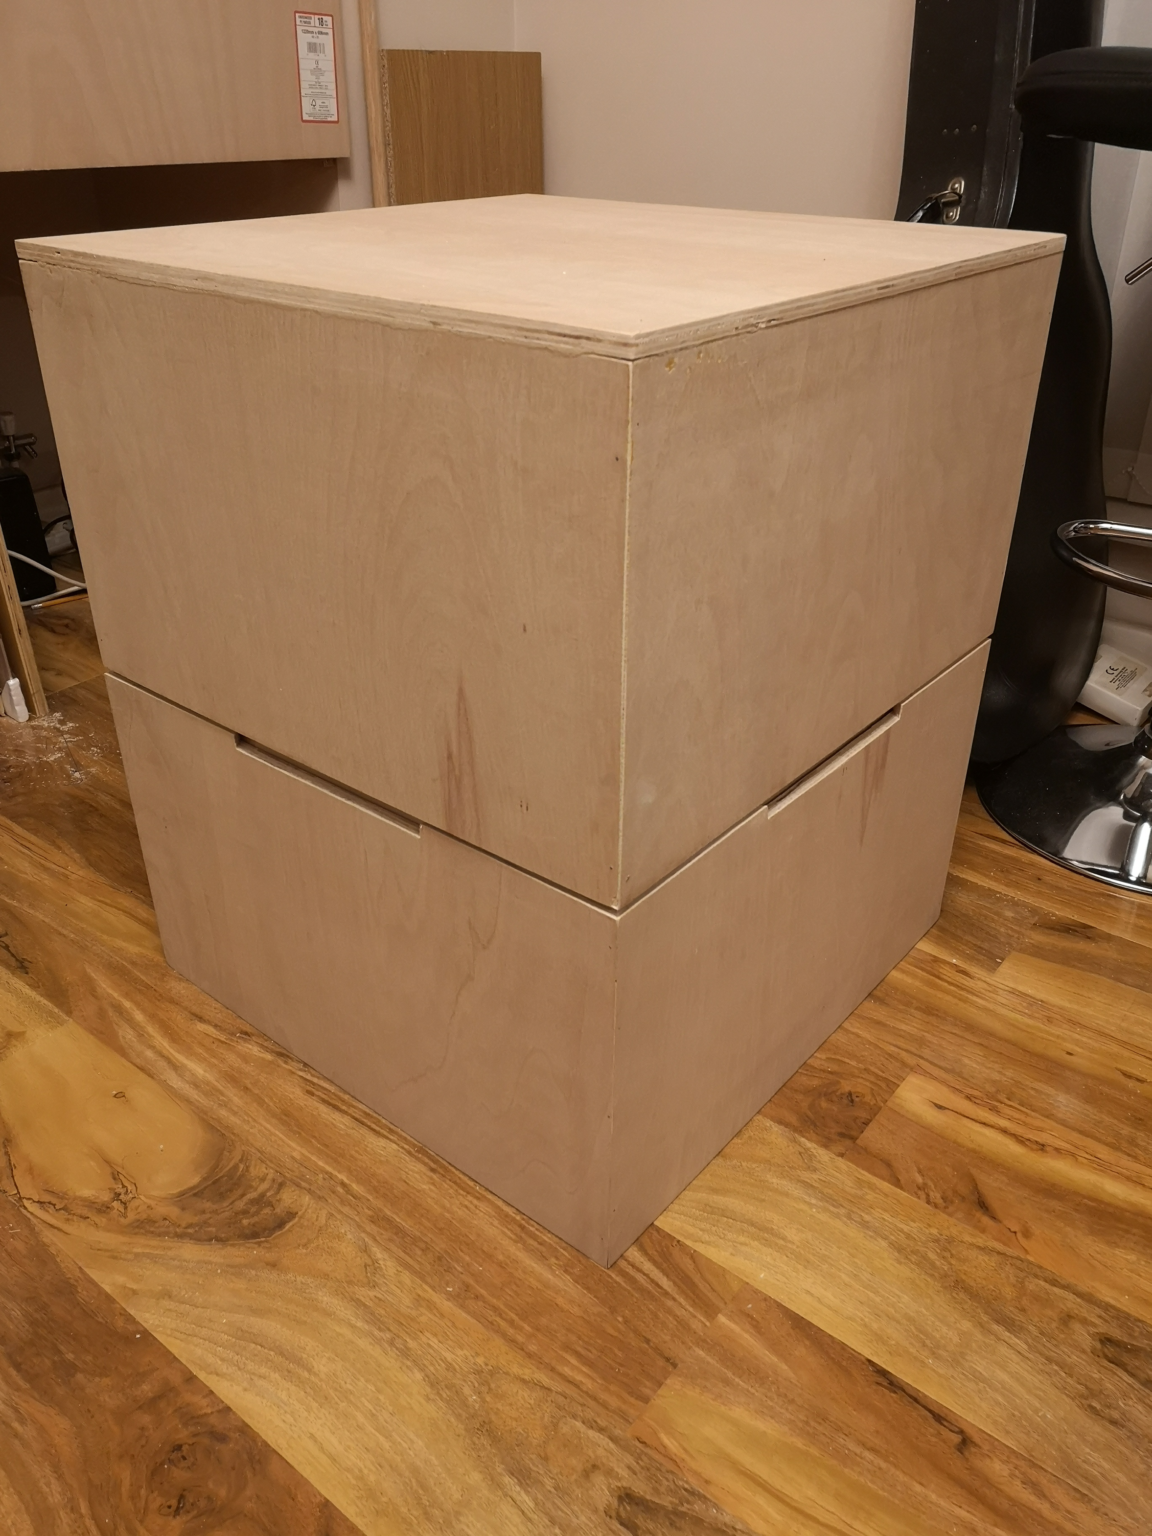
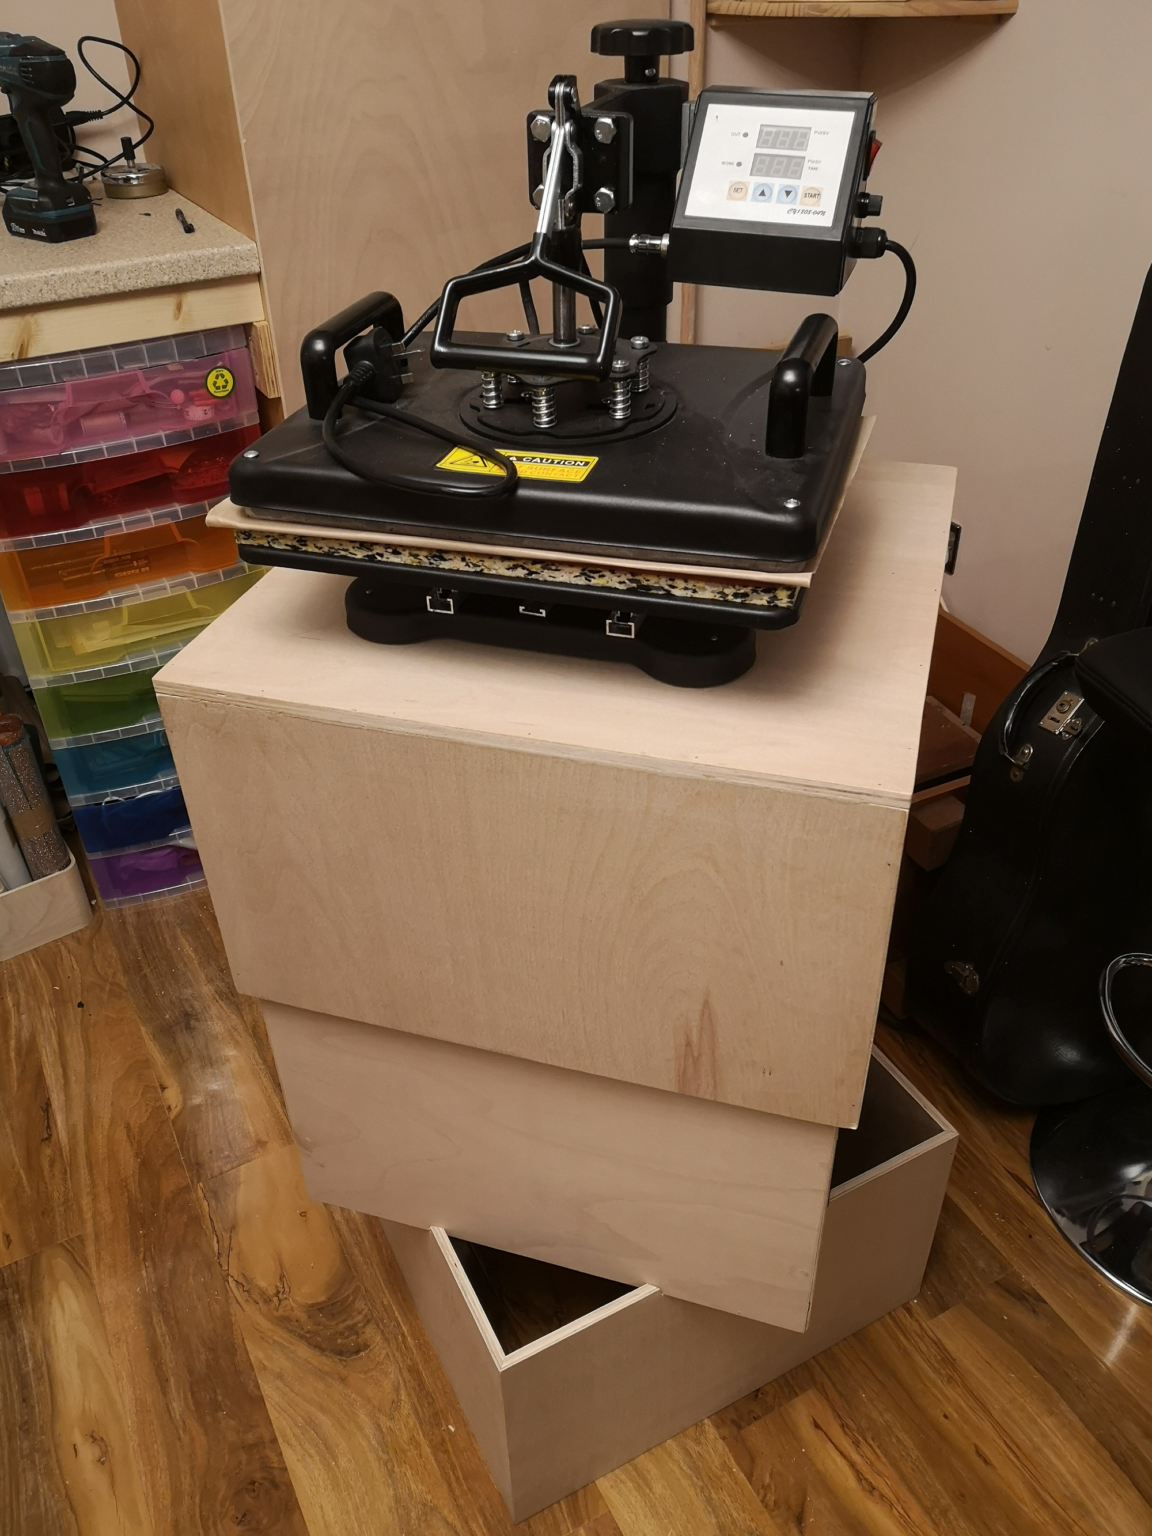
The Sleve isn’t a box and is a “notched” sleeve that creates the lower half of the overall closed box.  This goes around the inner box which is .5mm taller than the lid height overall and therefore creates a 5mm gap between the sleeve and lid parts when stored away.

Super difficult to explain in text but basically, its a box in a box with an oversized lid with doesn’t quite reach the lower “sleeve”.

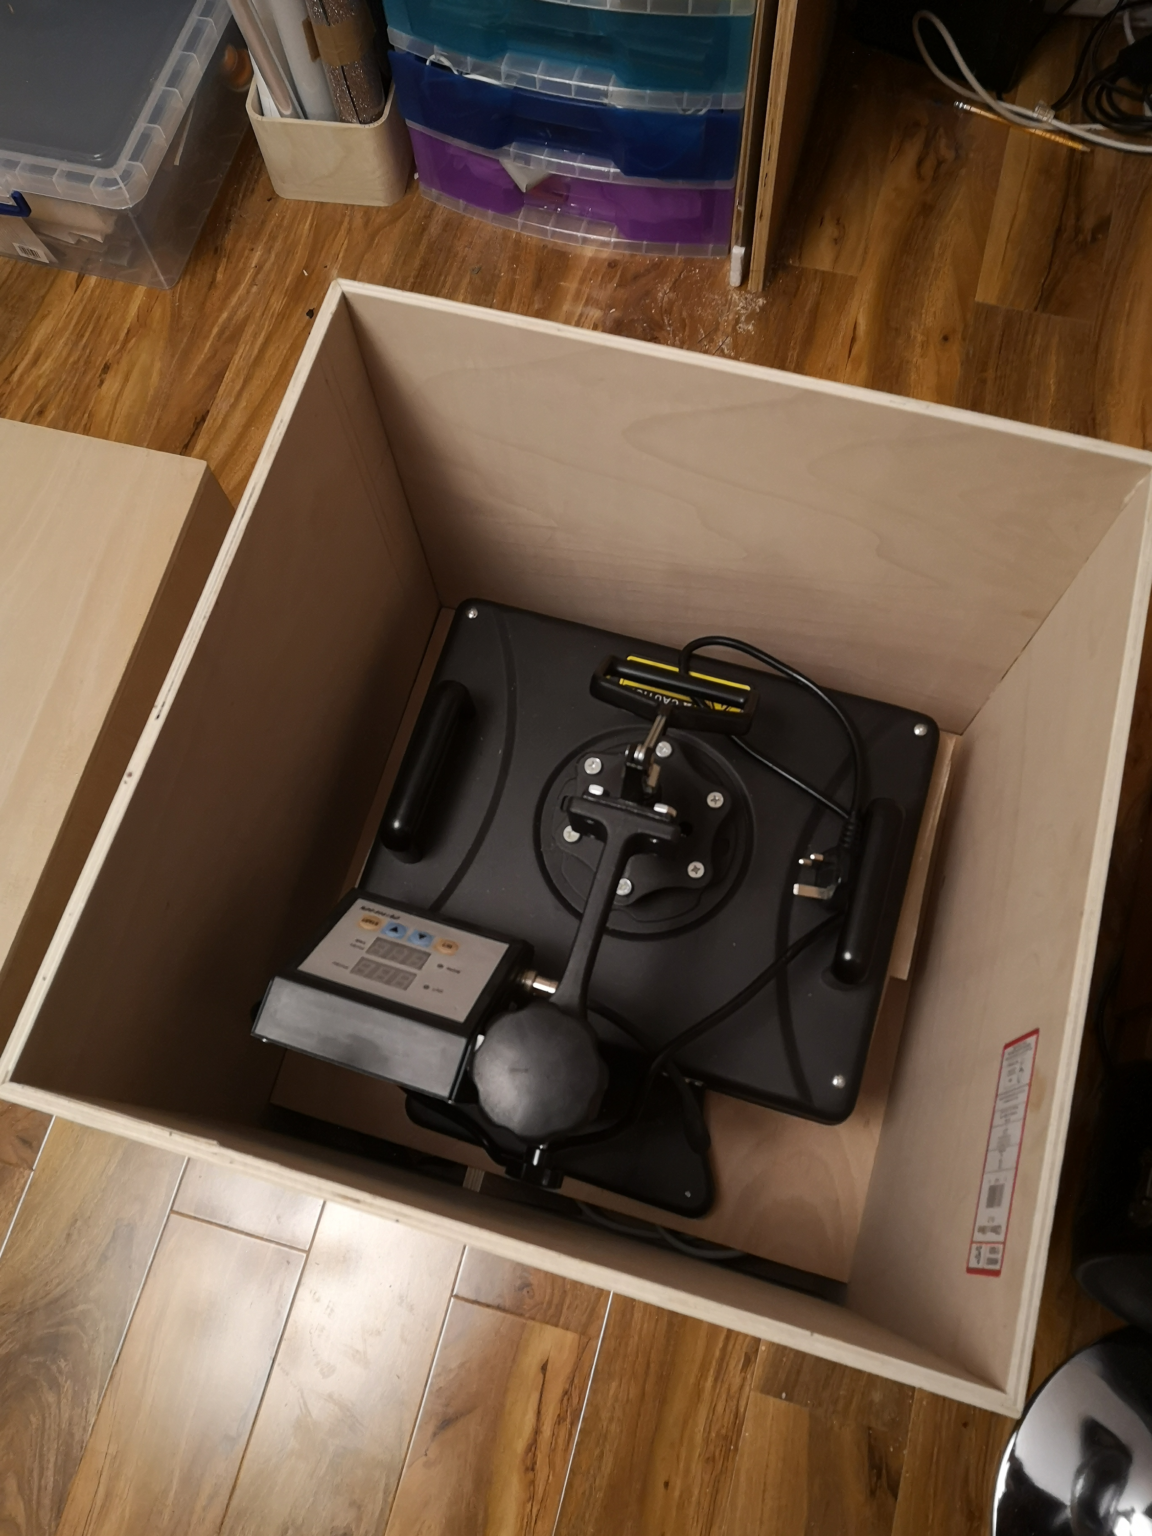
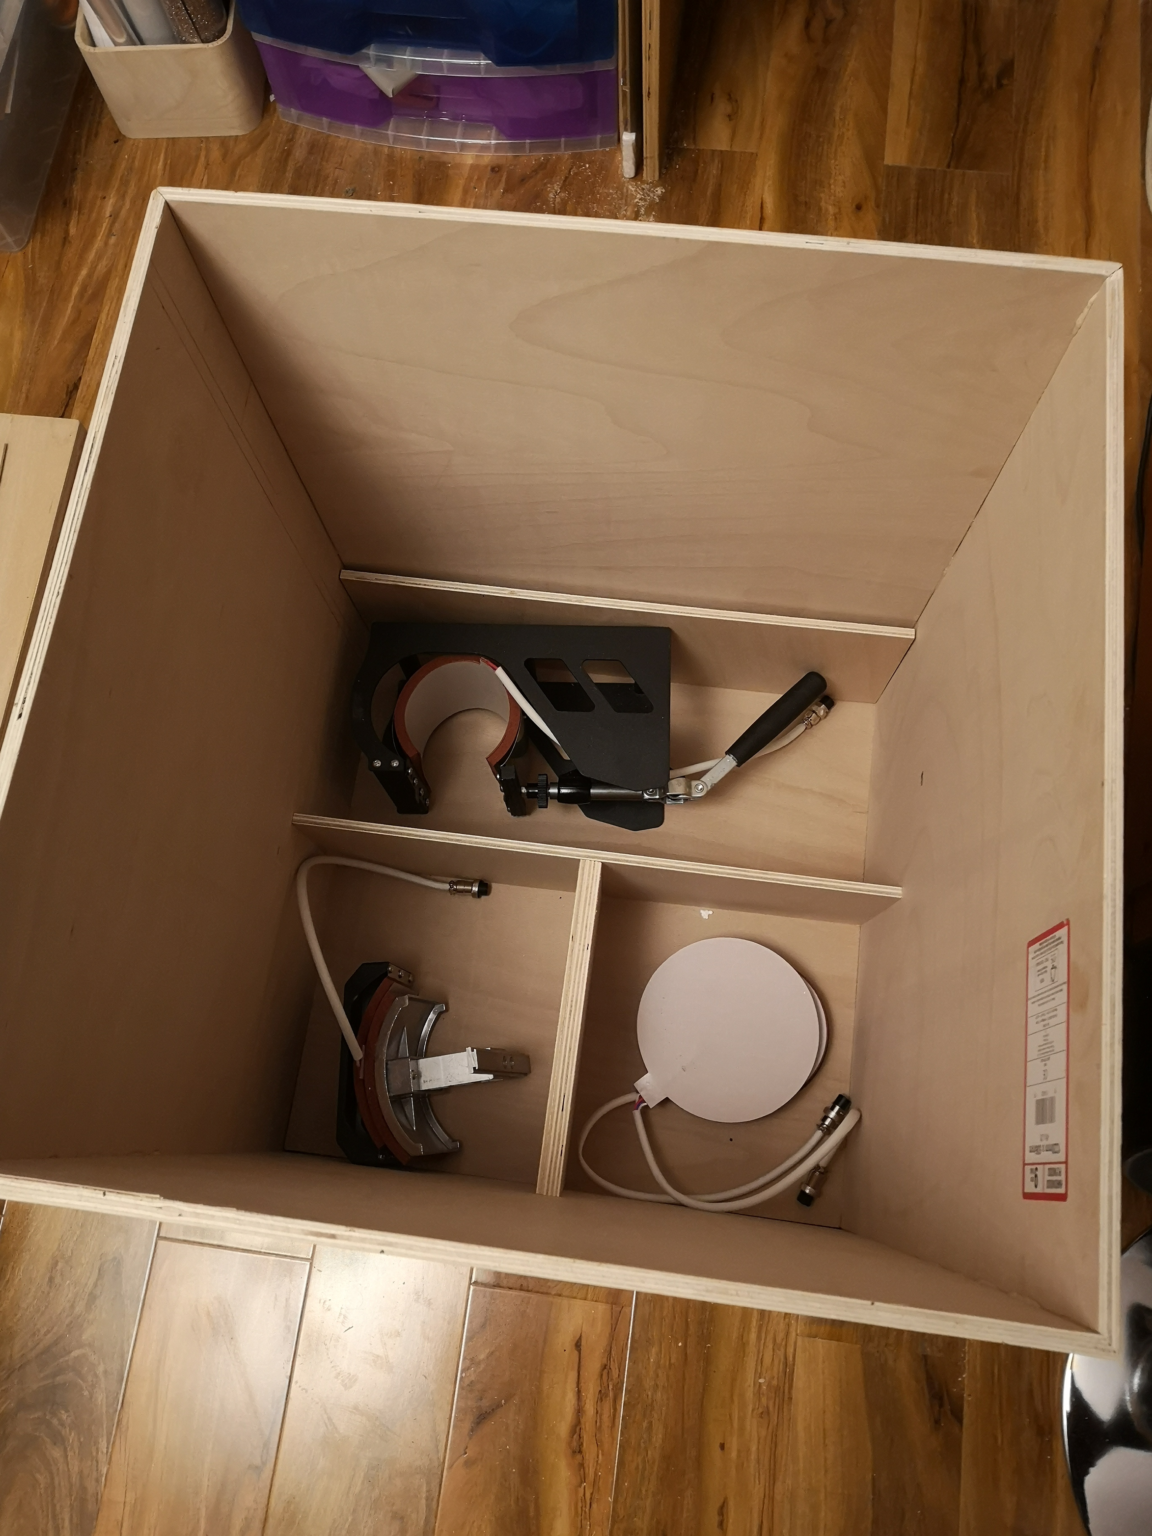
In the inner box, there are sectioned compartments for the presses attachments and a “false” top to that which is where the press sits on when packed away.  Phew!

I'm not a master craftsman

In the image above, you can see that the box is quite large (yes, that is on my tablesaw.  Yes, they are my knees.  NO, there isn’t more room to get out of the way and YES, the “workshop” is that small! 🙂

This is actually an image of the sleeve as I needed to sand down inside and apply some wax to help with friction as my little knowledge and clamp collection means that its not 100% square (keeping in mind the three boxes must slip over each other etc).

The Finished box (needs a "finish")

I hope you enjoyed your read through – Please join the mailing list to be notified of more random woodworking, making and general madness here at Linked2U.co.uk