As it turns out, the propeller on Phoenix wasn’t the one that was on her when she was taken into the boat yard to have her cabin built – some decade or so ago!
Thieving bar-stewards!
Replacing a propeller
There is a huge amount of gathering sizes of propeller shaft, the pitch of the blades, the shaft keyway size etc.
In order to get all that type of information, you either need a diver mechanic or a dock / slipway to be able to dismantle the existing gear to get the information. I was able to get into a dry dock and we were able to determine that the issue Phoenix had with knocking appeared to be due to the fact the propeller wasn’t done up tight.
It appears that someone took the original fitted propeller and replaced it with one which the nut didn’t butt up to. So they put the pin in and left it as was.
Gutted by the discovery and explains some drive issues we have always had with phoenix.
https://youtu.be/bhjFYJ1_yJs
Ordering a replacement
Replacement propellers are possible but advice is normally to replace the shaft and propeller to ensure perfect fit (quite key when rotating thousands of times a minute).
There are specialist engineering workshops that make these propellers to your specifications.
The new propeller is simply (some force required and a bearing puller is helpful) to remove the old one.
Then it’s a case of simply putting the new propeller on and bolting it on with the nut.
A new split pin was inserted and bent over to ensure the nut cannot undo and it was done.
A 20 minute job and very satisfying to know you’re now get 18 inches per rotation instead of 10!
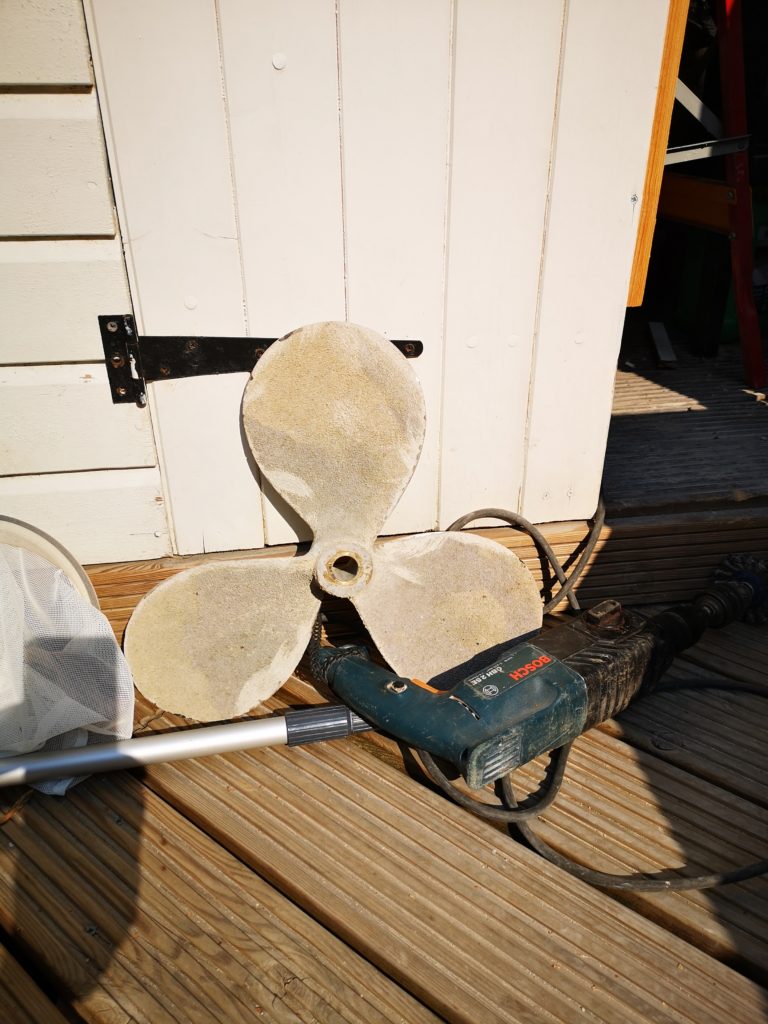
Cleaning the Propeller
Cleaning the propeller was a case of fitting a wire brush bit to an electric drill and grinding away the built up muck.
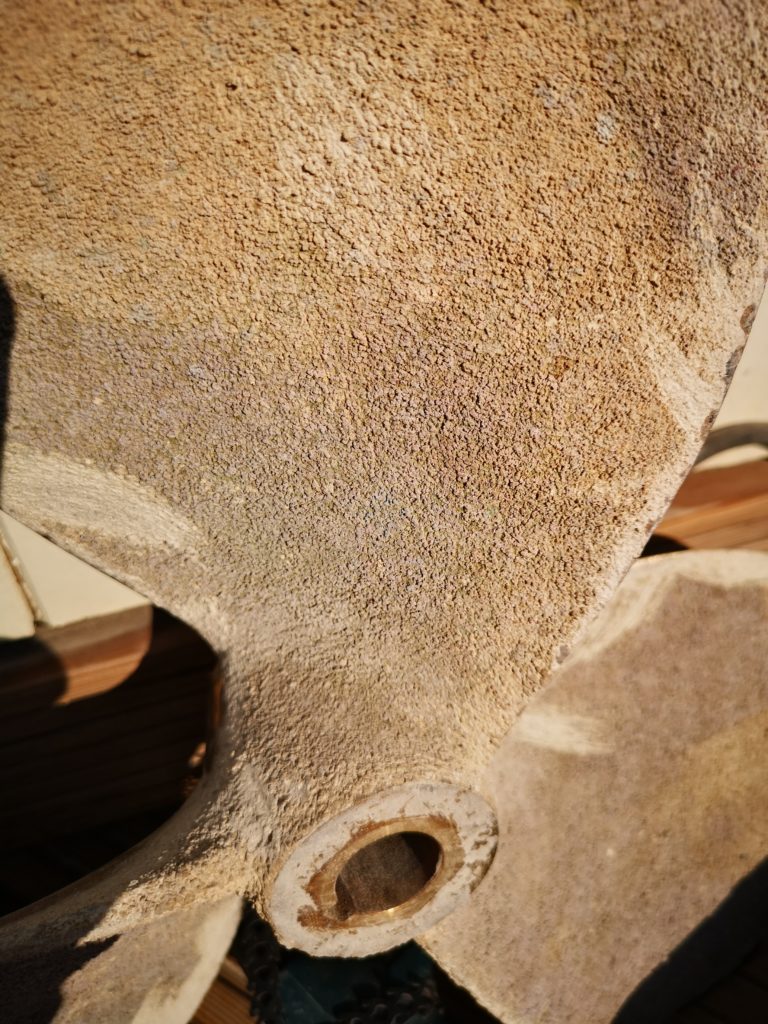
I’m not sure what sort of muck it was but it was stubborn and wasn’t coming off easily.
If I was to repeat this job in the future I would look into something to soak the propeller in first as I performed this clean up with everything completely dry (a few weeks of sun baking dry).
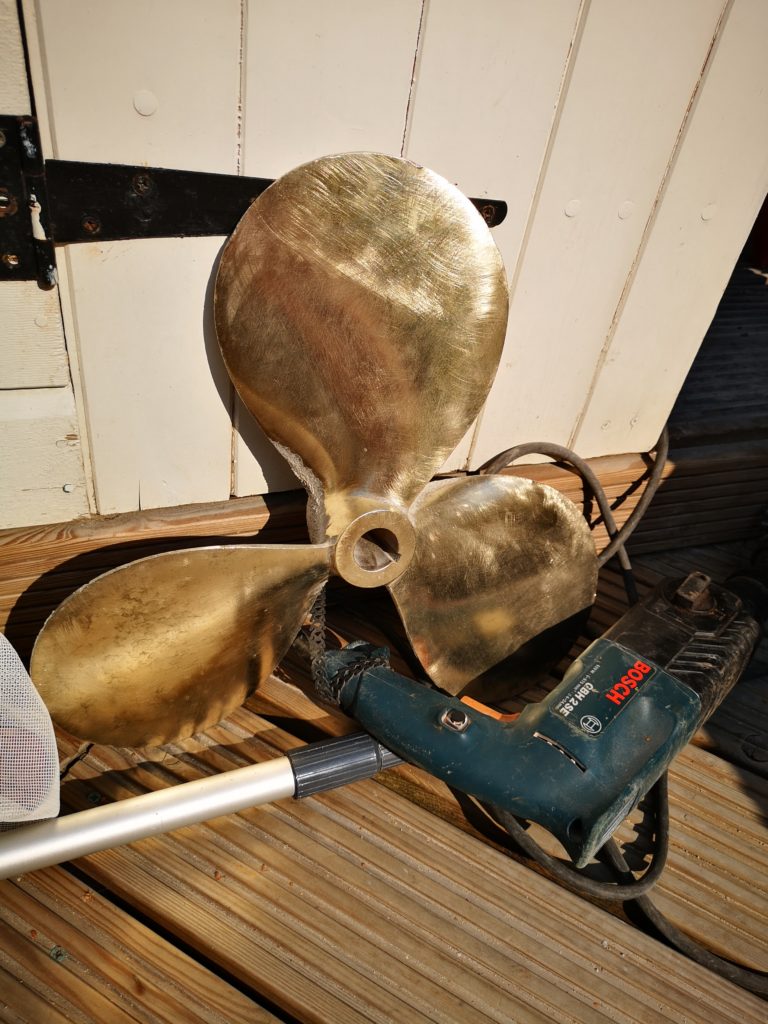
Job done
After a couple of hours of work, the propeller looked good and was taken for resale.
Lessons learned
Propeller cleaning is actually quite therapeutic as you can instantly see the hard work paying off.
Good PPE is required though! The dust generated by this work is “flour” like. It travels and sits on everything like household dust but you generate so much of it that you need to make sure you’re working somewhere outside or very well ventilated – do not breath the stuff!
Select a space that, if you’re cleaning up afterwards, is conducive of sweeping.
The dust goes everywhere mainly because of the drill spitting dust off the propeller or air from the drill blowing dust.
Alternatively to a drill, a wire brush can be used which will reduce dust but would increase time to complete the work.
Conclusion
Cleaning a propeller up is as easy or as hard as you make it really.
If I was doing it again, I’d look to soaking the propeller in something for sure as this must make cleaning that little bit easier and would probably reduce dust creation too.
If I was a “on a scale of 1 to 10” person, then I would say that due to the removal and therein struggles and work, this is definitely above a 5 ?
Don’t forget to sign up for the newsletter!
Comments or questions welcome.
Stay safe and well all ??