It all came together
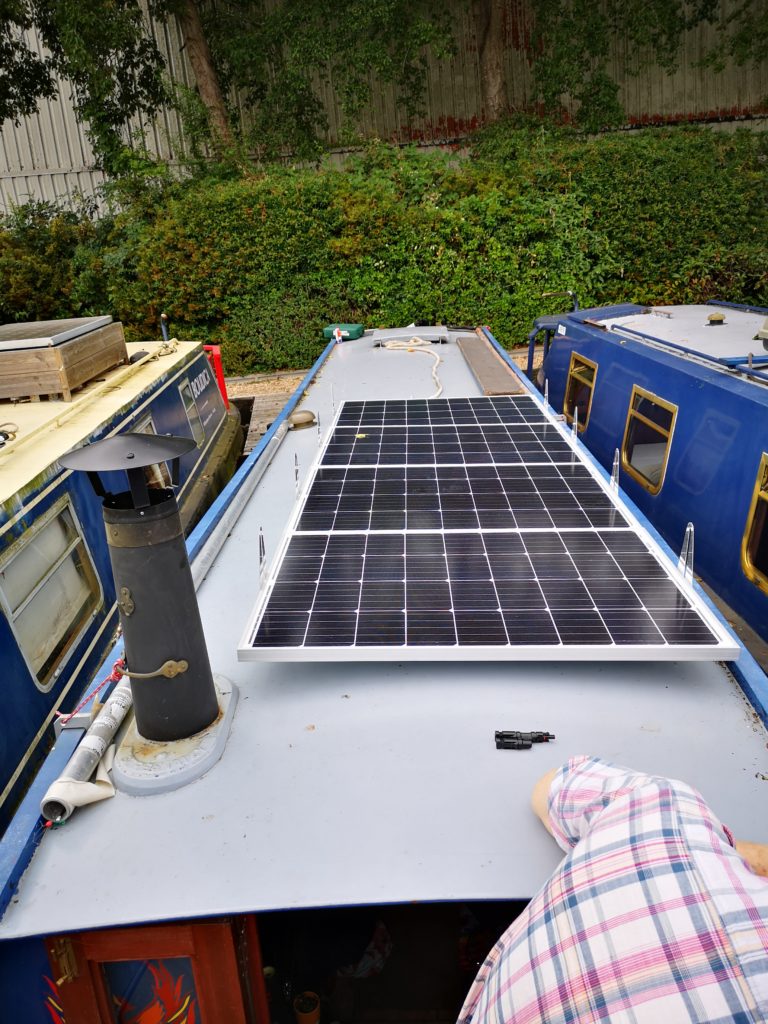
The regular readers here will already know that I (we, that’s my dad in the photo) have been installing a solar solution to recharge and maintain my planned huge 12v battery.
There was a plan and then another plan, then finally it was a case of “push came to shove” as the need to generate some power while out on the cut and not rely solely on the generator became a necessity.
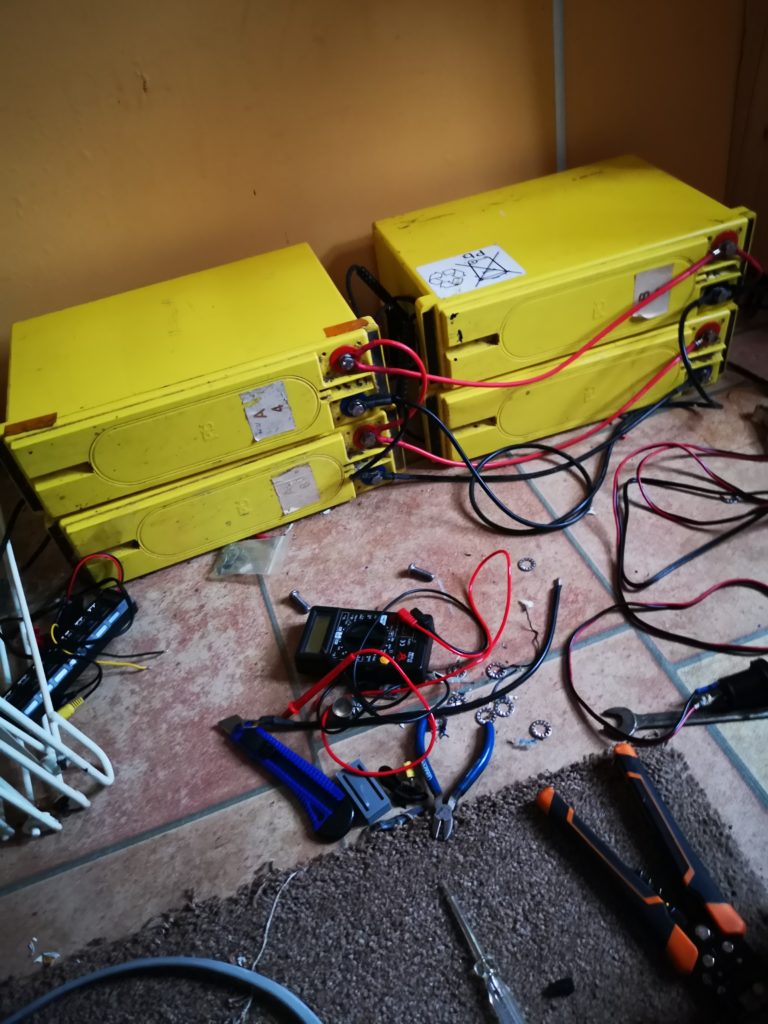
Today the plan was to connect up the solar panels to each other (in parallel), install the cut off switch, the charge controller, connect the 4 12v batteries together in parallel and some minor electrical cable routing with switch installation. Phew. Might be asking a bit here…
Can it be that simple?
I have had about a week to work on the theory side of this project. I spent some time emailing the great contact I was lucky enough to be put in touch with via a family marine mechanical engineer (check out D H Crouch on YouTube).
With the contact’s patience and understanding, I felt ready to install this new equipment.
You’ll recall that I generally know about woodworking and other IT based tech but the whole concept of batteries and environmental generated electricity is so far out of my comfort zone that I sometimes wonder what’s wrong with me.
Ahead – nonetheless
I started off the day with a “simple” goal. I needed to extend and hide the cable that powers Phoenix security camera and install a manual switch to power it off when I was there. I got bored of the boat emailing me pictures of myself so this became a priority as it draws its power from the “house battery” and is wired in with the stereo feed. So an isolating switch was called for.
What I thought was going to be a simple case of making a small hole in the face panel and dropping a cable down to where I wanted the switch to be, well, it became a 2 hour argument with friction and some tiny amount of drilling and soldering.
The end result was met and I celebrated with a well earned coffee.
He comes to the rescue and brings the bits too
Once my dad arrived with the interconnect cables he had made up for the solar panels and the battery interlinks, we set about getting on with it.
Well, Dad did, I had to attend a work meeting but it was ok as he took some time to work out the “plan of action”.
Once I was available, we hooked up the solar to the new cables and linked the batteries as planned.
The final tests
Once the “battery” was linked and solar linked, we set about test connections to see what the system would do when hooked it all together.
The battery was hooked up first (as per the manual) to the trip switch (reusable fuse?)
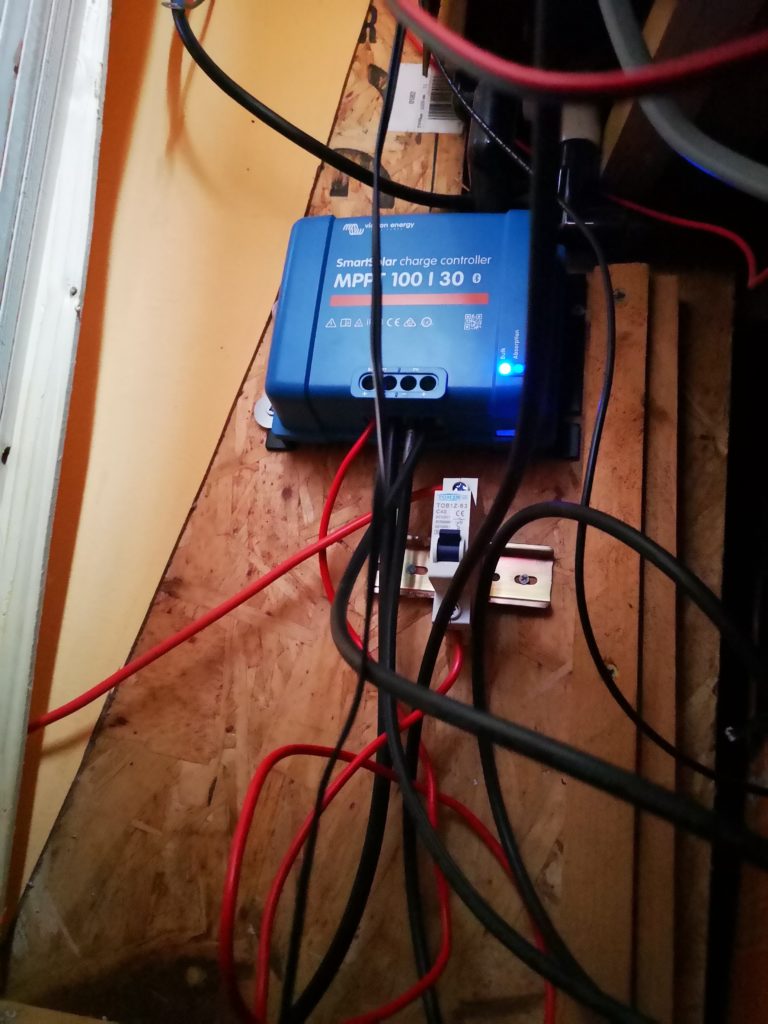
Looks like a red spider and black spider had a fight?
Ok, so the wiring does leave a lot to be desired but equally, the area isn’t seen but needs cable length as the cupboard its behind moves out to allow for access under the front well.
some of the wires will be tied up and out of the way and others used for other equipment but generally it is getting there.

Dont forget to sign up for the newsletter ?