Goals
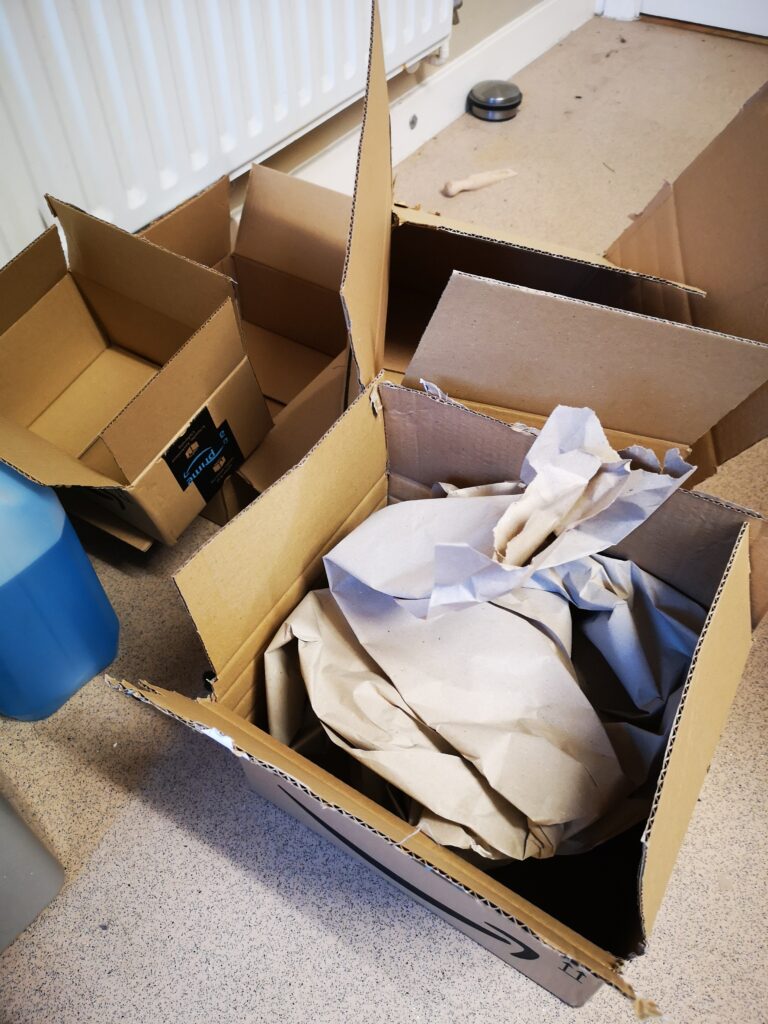
The goals are simply that each year I have a magnitude of deliveries and uses for old delivery boxes (think large online delivery types of boxes ?) which I believe could be further used instead of left for the bin collection folks.
It’s also this time of year that it gets cold (UK December) and with present wrappings, boxes and a need for heat – the idea hit me.
What do you need to make a paper log?
- Cardboard (remove all non recycle stuff)
- Paper (not necessary but help rid that shredding)
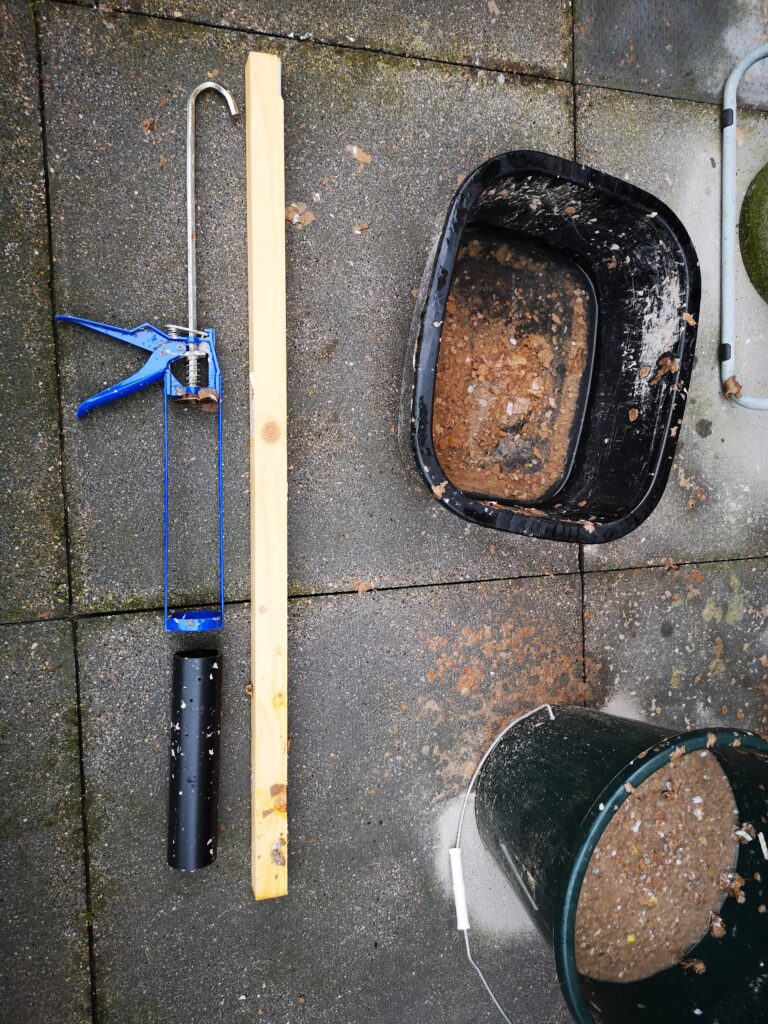
- Sealant gun (make it a strong metal one)
- Plastic “down pipe” that will fit inside sealant gun (you might be able to use a used sealant tube?)
- Saw to cut pipe to length (you’re not likely to find a pipe off the shelf)
- Long stick (this needs to fit inside your pipe)
- Two buckets (one to make your log material and one to work in)
- A kid’s pond dipping net (not completely required but helps production)
- Shredder (nice to have but not needed)
- Drill, small drill bit (you’ll need to make holes in the pipe to drain water)
- 8mm paint mixer drill bit
Alright let’s do this.
Making the press
In order to make logs we will need to compress them down into log shaped paper “snakes”.
The process is a little lengthy so to summarise; make your pipe the right length to fit into your sealant gun. Make some holes in the pipe walls to let water out and make sure you find a way to seal the open end of the pipe (I used a bit of plastic cut in a circle).
The steps to make your press
- Grab your saw, sealant gun and the pipe.
- Measure the pipe and cut so that it fits inside your sealant gun. Make sure to leave some room for the pipe to easily tilt into the gun as this makes loading and emptying easier.
- Drill some holes in the pipe, you need loads and remember that this is where the water will mainly escape from while being pressed, so put my holes nearer the open end.
- Measure and cut a round bit of plastic from somewhere so that it fits at the end of the pipe (where the sealant would come out of normally). I used an old plastic storage pot but be careful as this end will have a huge amount of pressure against it when in use.
There you have a press ready to roll.
Material preparation
Grab your paper and cardboard and “have at it”. You’re looking to reduce it down to about 3cm squares or shedded paper works a treat too.
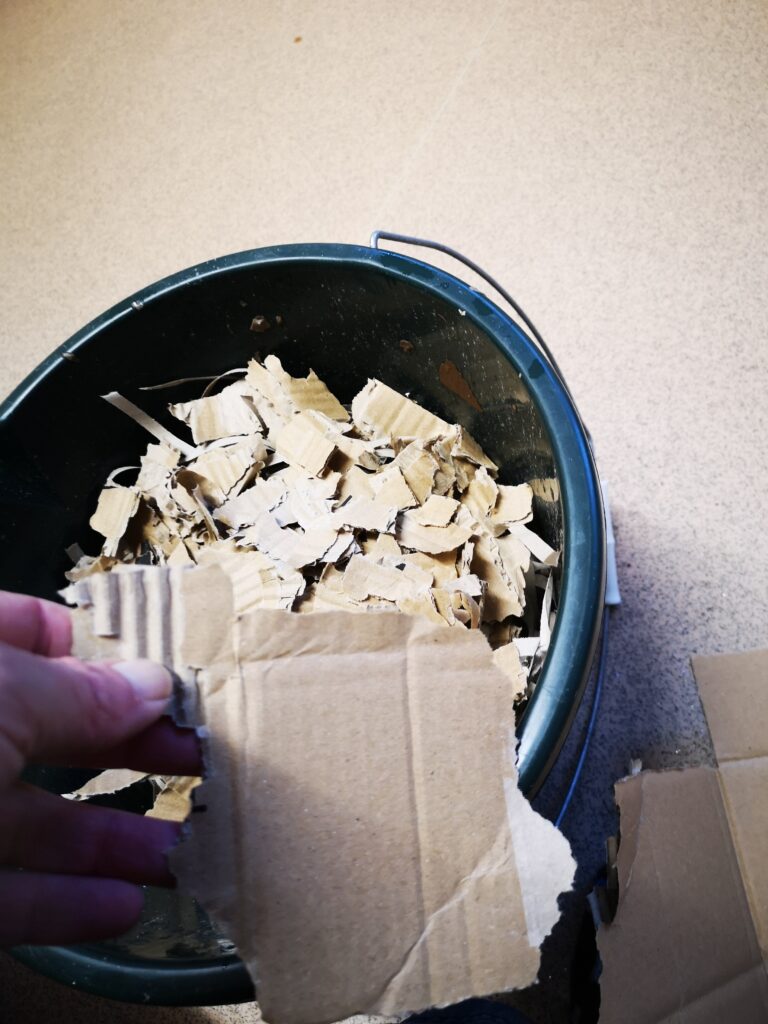
This mass load of bits needs to then head into your material bucket with enough water to soak the lot.
Head to the kitchen and grab a drink, meal, chill out and come back tomorrow to check on the material.
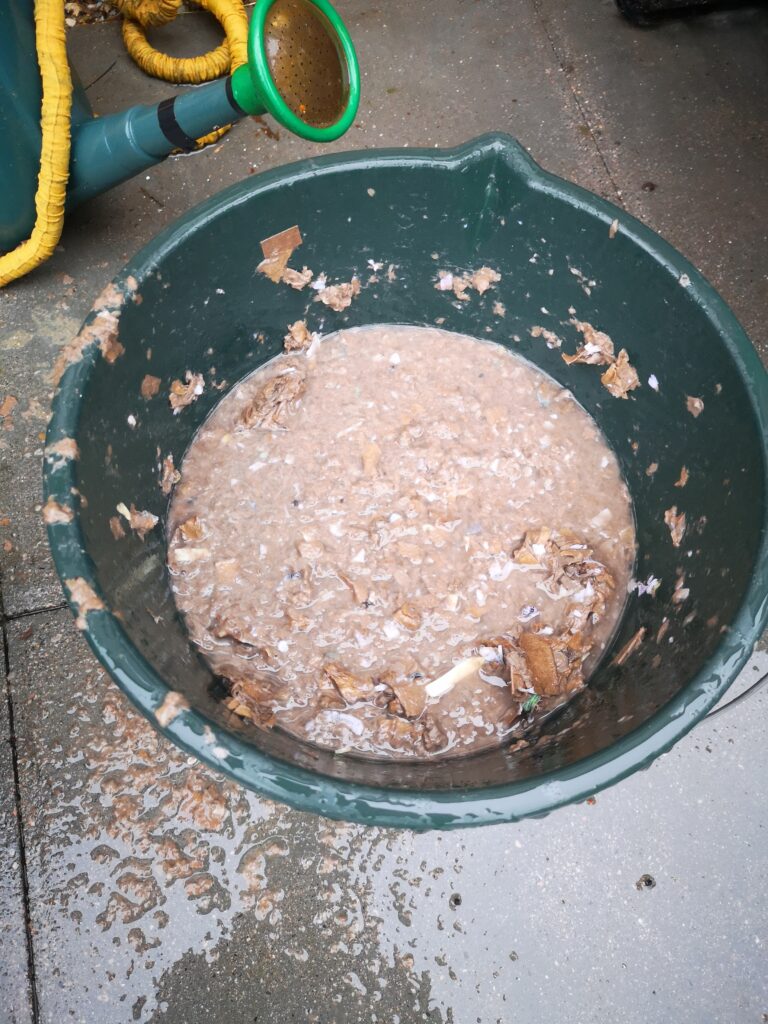
Mash it and pack it
Now you have had your materials soaking for a while, whip out that paint mixer drill bit and as Bob said “stir it up”.

You’re looking for the larger pieces of cardboard to be proper “wibbly” so that when you pick one up, it holds its shape but can be easily torn.
If you had one, grab your pond dipping net and pour some of the material content through it into the second bucket. This will leave you a huge mass of wet material in your net.
Ring out the net content so the water heads back into your material bucket and empty the working bucket into the material bucket too.
“I don’t have a net” – that’s ok, I didn’t for my first run and added it later as a way to prepare (predrip) before I needed it. You can get away with pouring water from one bucket to the other with your hand stopping some of the material. It is a slow process though as the material causes a dam and the water won’t leave. Just reset and start again.
Material ready, let’s crush it!
Working in the “working bucket” place whatever end you made into the sealant gun followed by the pipe.
With the pipe leaned out of the gun at the plunger end, begin loading the pipe with material. This is why we’re doing it in the “working bucket” as it’s messy.
With the pipe full (yes you can press more in until you can’t anymore) move the pipe over into the gun so that the plunger now fits.
Press the plunger down manually with the end of the sealant gun on the bottom of your bucket. This will give you something that won’t break to push upon and you can include some sealant gun handle pumps to help the water get out.
Remember to up end the sealant gun to allow top water to drain off too if you, like me, didn’t drill holes high enough.
Crushed it! Stick it to it!
Once you have completed the press and water has mostly stopped dripping (a few good shakes and wait for drips) you can release the plunger on the sealant gun and remove your pipe.
Using your long stick, push (may need some bangs on the ground) the log out of the open end.
Now what?
Next is the big wait. The logs will take weeks to dry. This is certainly a summer task but it’s kept me warm enough.
If you make these, let me know by leaving a comment (subscribe to the newsletter to comment) and let’s have a chat about your experiences.
Stay well all ???